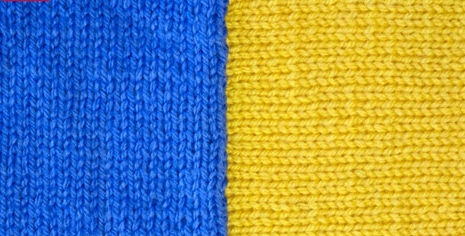
In this article we will look how to connect the share and cross cloth connected by needles. It happens it is necessary, for example, at a sleeve in an armhole or at connection of the coquette with a product. This knitted seam turns out accurate both with front, and from inner side.
We make out a side edge of a share cloth braid.
Closing loops on a cross detail, we leave the end of thread longer. To them we will carry out a seam. In photos we executed a seam thread of other color for descriptive reasons.
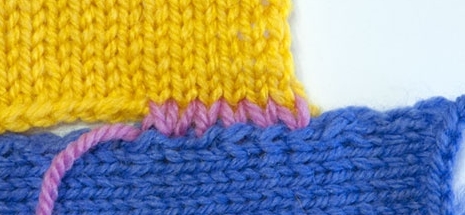
We conduct work on the face. At the beginning of a seam we enter a needle into an edging loop of a share cloth from below up, then we pick up a loop of a cross cloth for loop “arrow” – that place where walls of a loop meet in one point.
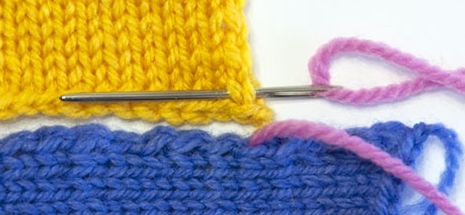
Then we pick up a broach at a side edge of a share cloth.
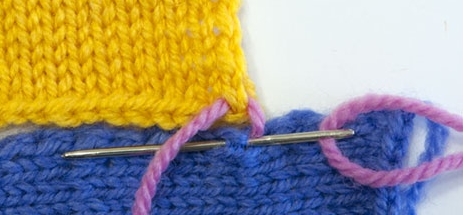
Again, we pick up a loop at a cross cloth and so on.
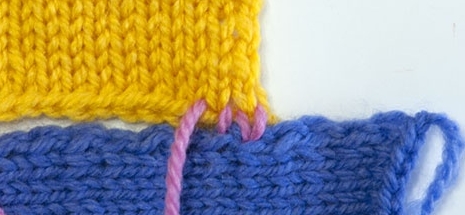
This seam can have two options of performance. One – when loops drag on not completely and kind of serve as continuation of loops of a cross cloth. In this case the seam turns out softer and more plastic. This option can be recommended for thick yarn and children’s things.
The second – the connecting loop drags on densely. The seam turns out more rigid, but it is easier to achieve beautiful appearance. It is better to use this option in products from thin yarn and yarn of average thickness.
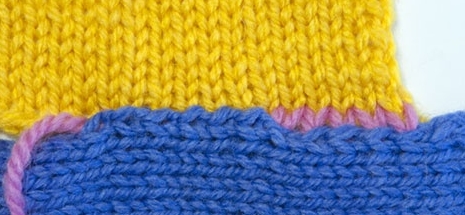
There is also one more subtlety in performance of this knitted seam. Side edging loops of a share cloth are longer, than loops of cross. If to sew them just as it is told above, the cross cloth will stretch. At a sew of sleeves it is not necessary at all. Happens that it is necessary just – to return the sleeve. In this case use such reception: for one broach of a share cloth pick up two loops of a cross cloth.
We would like you to watch good old Perfect Sweater Seams video from Cheryl Brunette as this will explain a lot.
